

When traveling, no other activity in painting brings me more excitement than taking my old pochade box outdoors in search of a new motif to tackle.
Being a Hawai’i resident, trips to the mainland are welcome opportunities. I can paint in situations where the visual content is rich in different ways than at home. The architecture, color, climate, citizenry…all offer a fresh point-of-view. I love carefully scouting out a spot where I can unobtrusively compose and paint a sketch.
But when working in oil, there’s also a serious practical matter involved. How can we get damp paintings home safely with minimal expense and fussing?
Here’s what I came up with.
Divide and Conquer
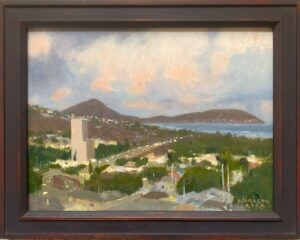
For this to work, the oil sketches need to be the same dimension. Fortunately, I only brought the size panels that fit my box, so all are 8 x 10″.
In this image, the paintings are numbered from earliest (1) to latest (3). When it came time to pack, painting 1 was sufficiently set-up
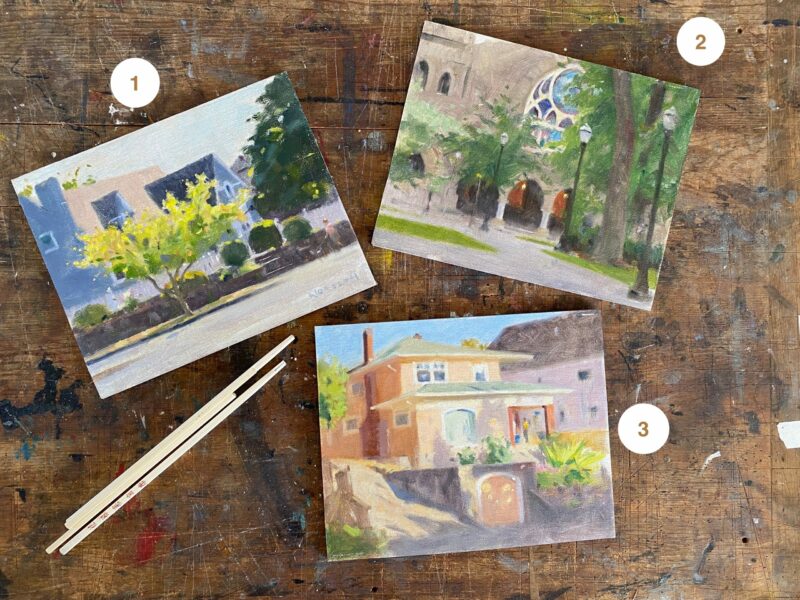
as far as being dry to the touch. It was the least vulnerable to damage. 2 was still soft, but was fairly set-up as far as dryness to the touch, being about 4 days along in drying. Painting 3 was the wet one, and so became the big concern among the paintings as I packed them.
Just a note…I don’t use driers (or any other means) to accelerate the normal drying time of oil paintings. Exposure to air circulation and normal daylight conditions are ideal. That discussion is for another time, but I wanted to mention it here.
Enter the Bamboo Chopstick
Being that I live (and eat) in Hawai’i, I’m used to disposable bamboo chopsticks as a part of routine life. When I needed to find a short, thin, readily available spacer to separate the paintings, I needed not look further. The ones we found are rectangular at the grip, ideal for use as spacers. Easy to cut if needed, they rest positioned on the painting’s edge, where the rabbet of the frame would overlap. That means any area of damp paint the chopstick might disturb would be easy to touch-up, and likely invisible once the paintings are framed.
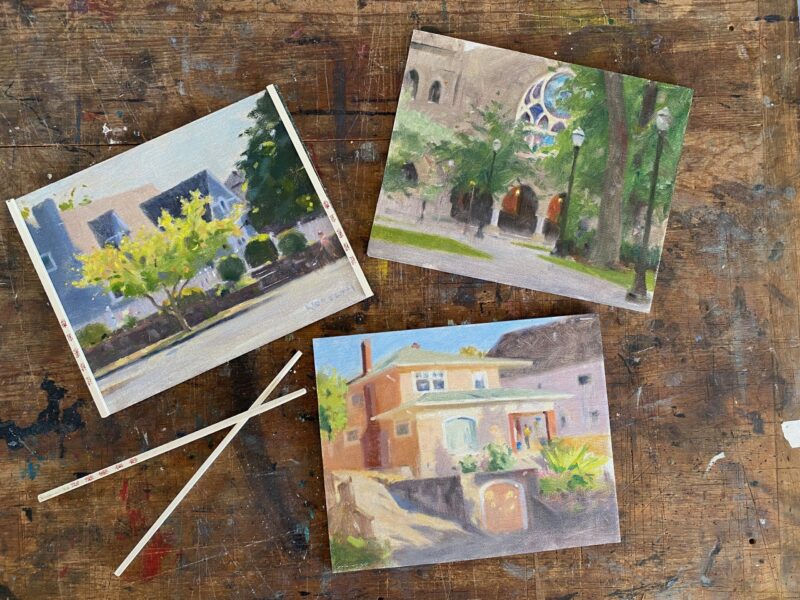
Using painting 1 as the base, I added a pair of chopsticks cut to the height of the painting, and placed them both along the edges on two sides.

Next, I seated painting 2 on the platform thus created, and also facing paint-side up. There’s about 1/4″ between the paintings, which is great.
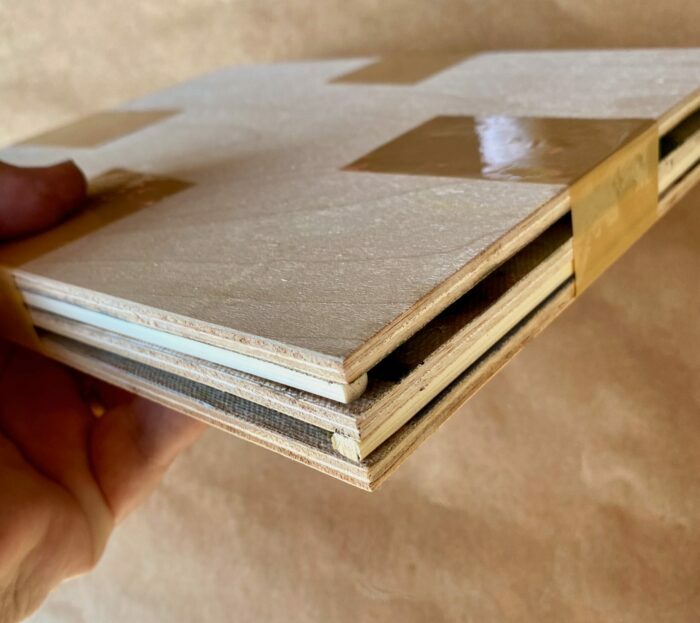
For painting 3, wettest of the oil paintings, I faced it downwards. I was careful to seat it where the chopstick dividers would rest against the painting’s edges. Once positioned, I used some packing tape to bind the whole “sandwich” firmly together, as seen below.
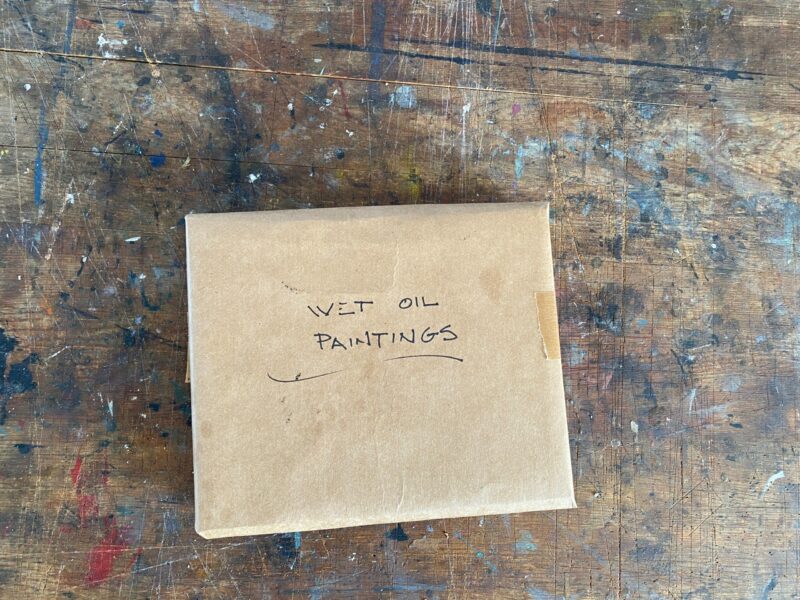
When this was done, it was only a matter of wrapping the combined paintings in some sturdy brown wrapping paper, and taping them closed.
Since I decided to carry them in my suitcase, I took a moment to indicate the contents on the wrapping, in the off-chance that my bags were opened for inspection.
I hope this is helpful to others. The whole process took about 20 minutes, and everything survived the flight perfectly.
Feel free to offer your comments or questions.
No comment yet, add your voice below!