

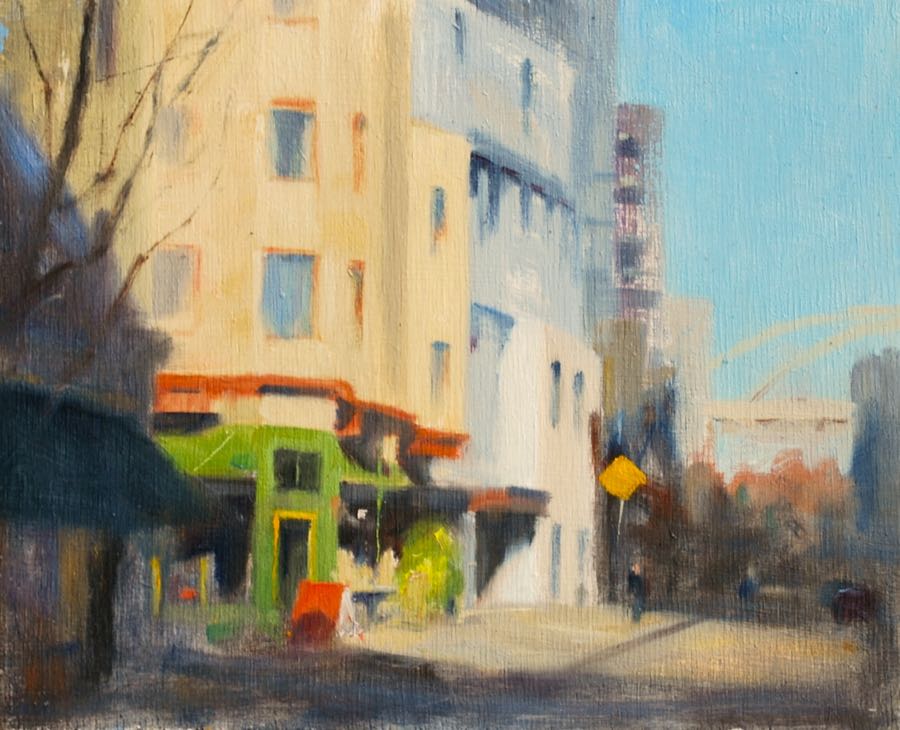
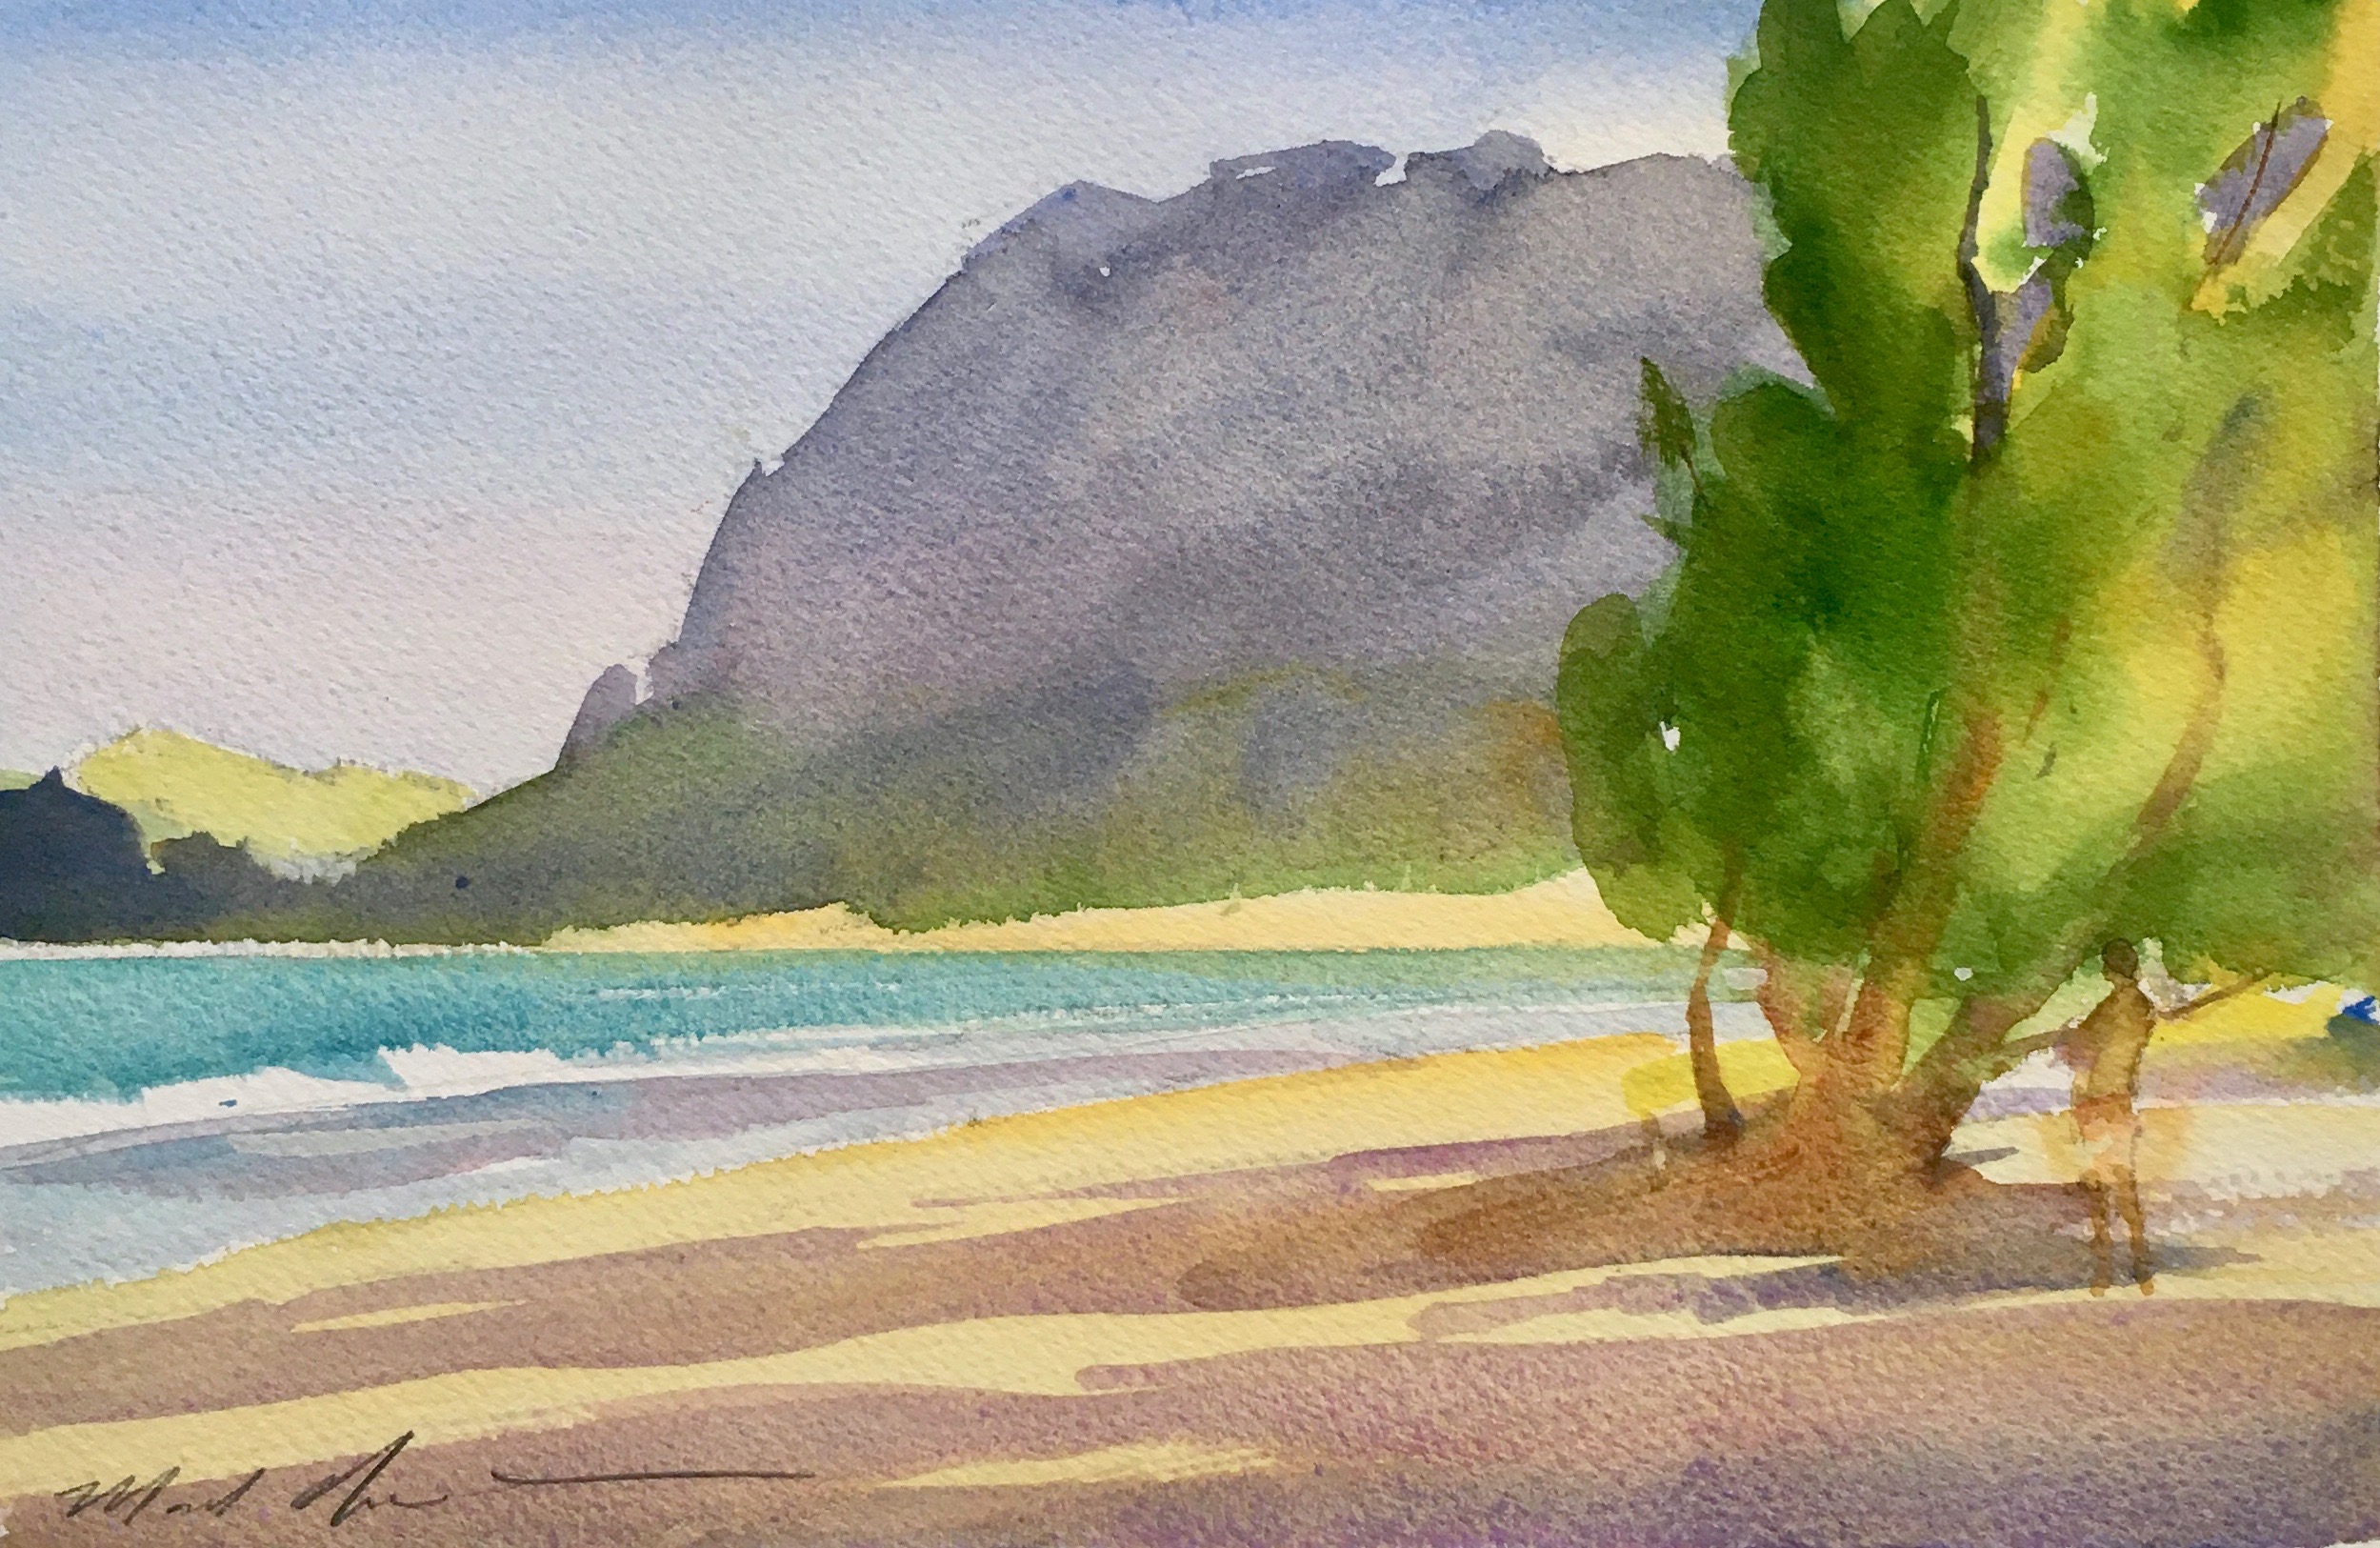
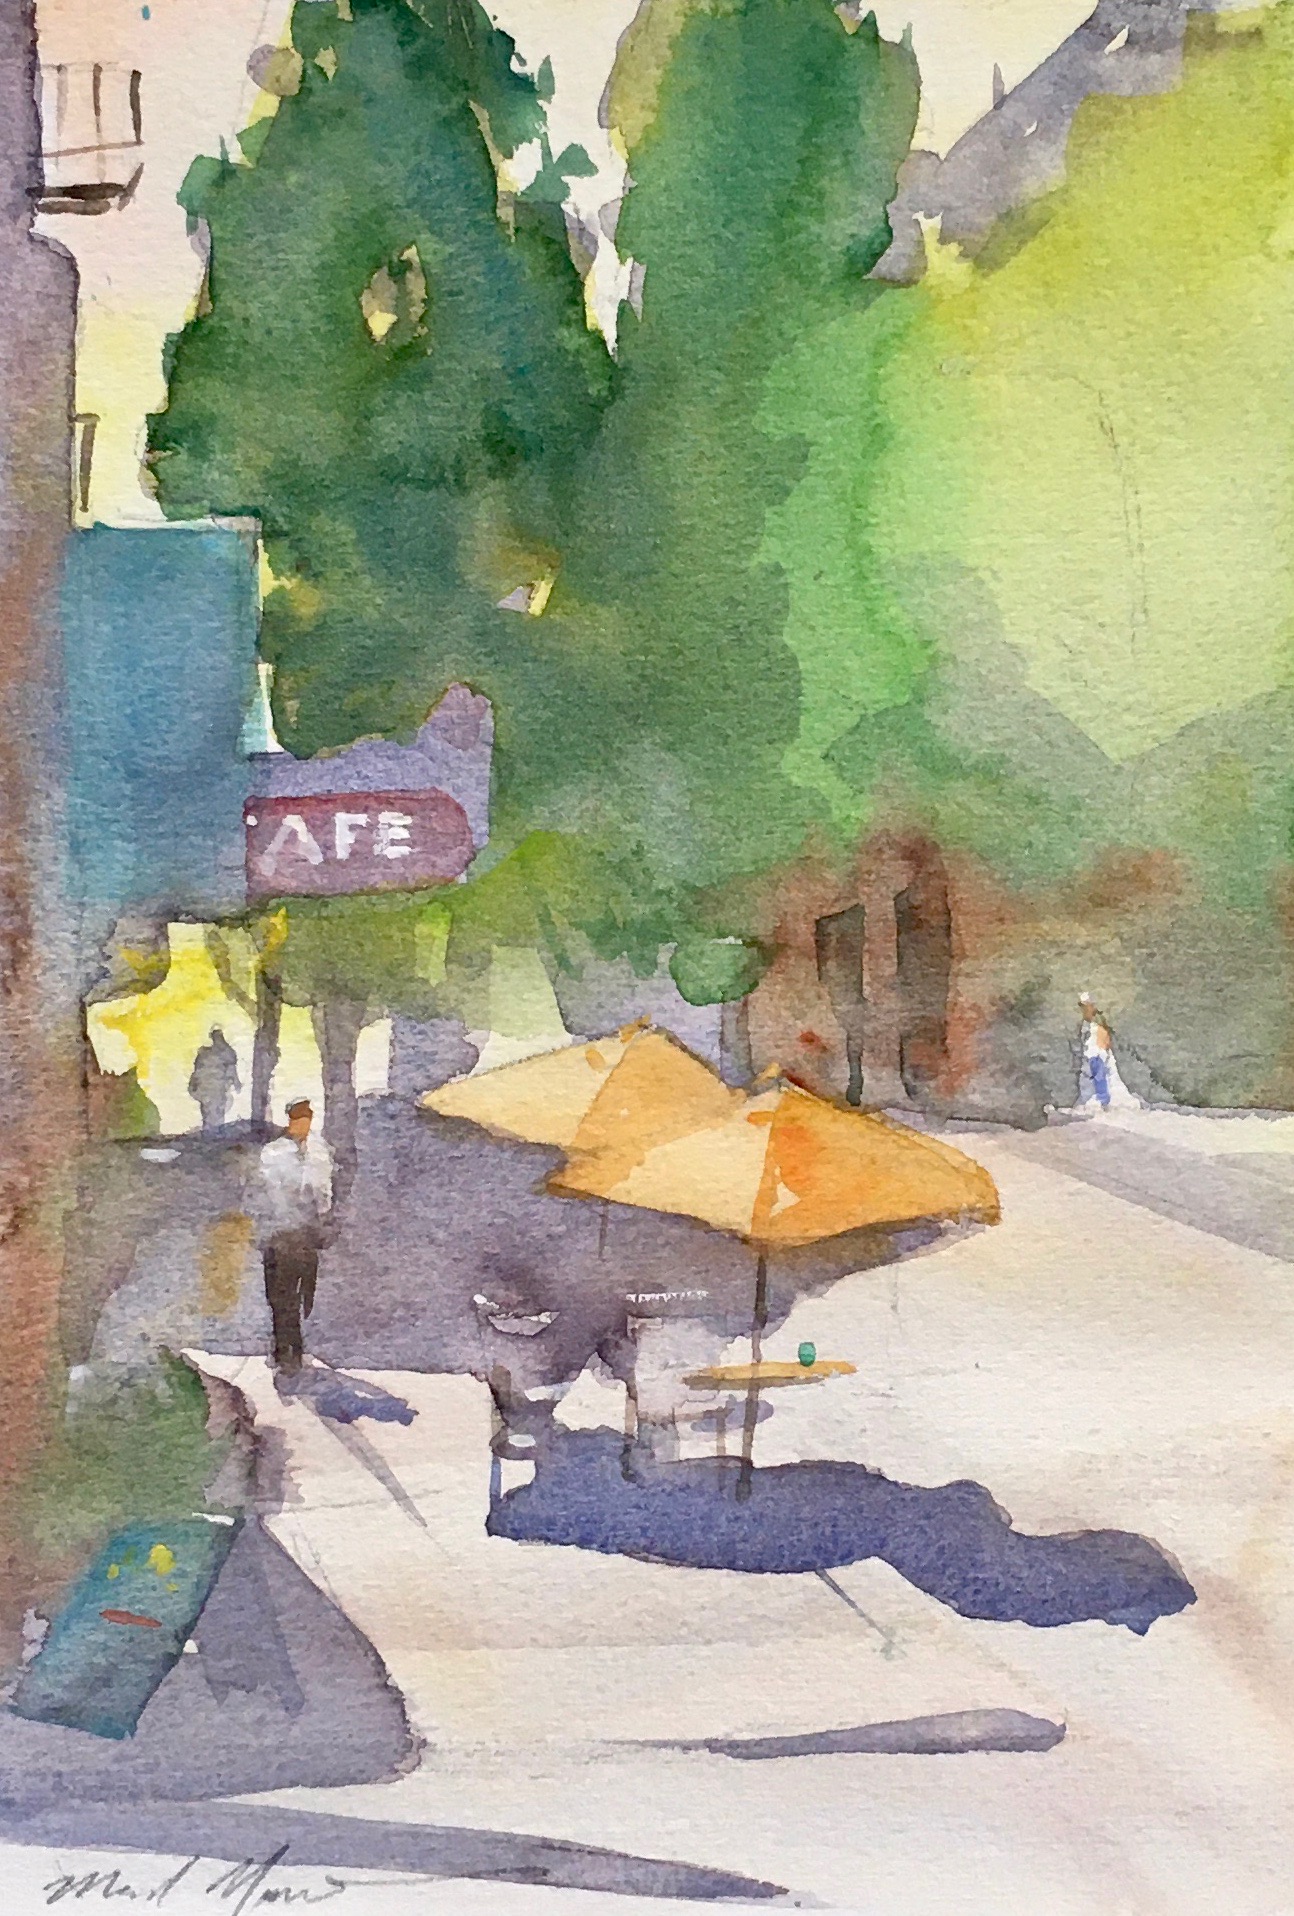
We live in a wonderful urban neighborhood in Honolulu called Kaimuki. Seated on the backside of Diamond Head, it’s an enjoyable mixture of both modern and century-old homes, a funky/trendy business area, and a populace that includes most all of our island’s varied ethnic heritages.
It’s also great for walking…rolling hills, old concrete sidewalks (with the occasional child’s handprint), and fresh trade winds that provide delightful comfort during an evening stroll. One notable feature is a high, rocky point topped by a small park. Called “Christmas Tree Park” by locals, it’s just a few blocks from home, and during early evening it’s quite popular. There’s a group of dog-lovers who habitually gather, perhaps some first-daters trying things out, and a variety of others who enjoy the westward view over Honolulu at sunset.
While I’m not a regular, I do occasionally drift up that way after supper. And it was on such an evening that I finally decided to get started on the early-evening painting I’d been contemplating.
The Influence
For years prior, I’d been admiring a painting by the 19th century Spanish painter Ramon Casas. His was also a “townscape”, of Montmartre, painted as it appeared back in the Impressionist days. I’ve always been excited by Casas’s picture; an interesting puzzle-pattern of darks and lights, rooftops, roads, and trees. It was definitely an inspiration for where I hoped my own picture could go.
As for my effort, I envisioned a days-end feeling: the fading daylight, with rose colored cloudbanks overhanging the rooftops and random jumble of our neighborhood. And all to be painted in thoughtful, descriptive brushstrokes.
A Strategy
I decided it would be best to arrive at the spot around 5:45 each evening. This would allow a window of workable light of perhaps 45 minutes. I supposed I’d need perhaps 8 or more sessions, but it was hard to tell.
Practicalities
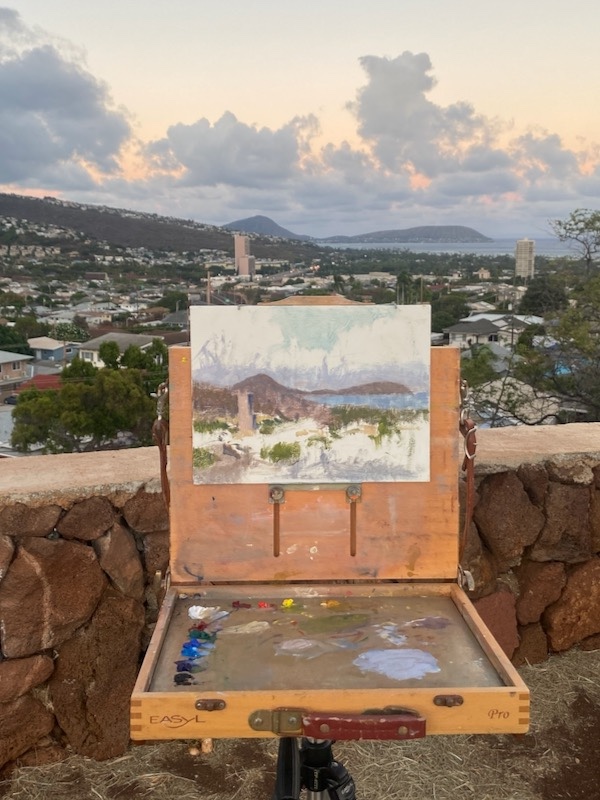
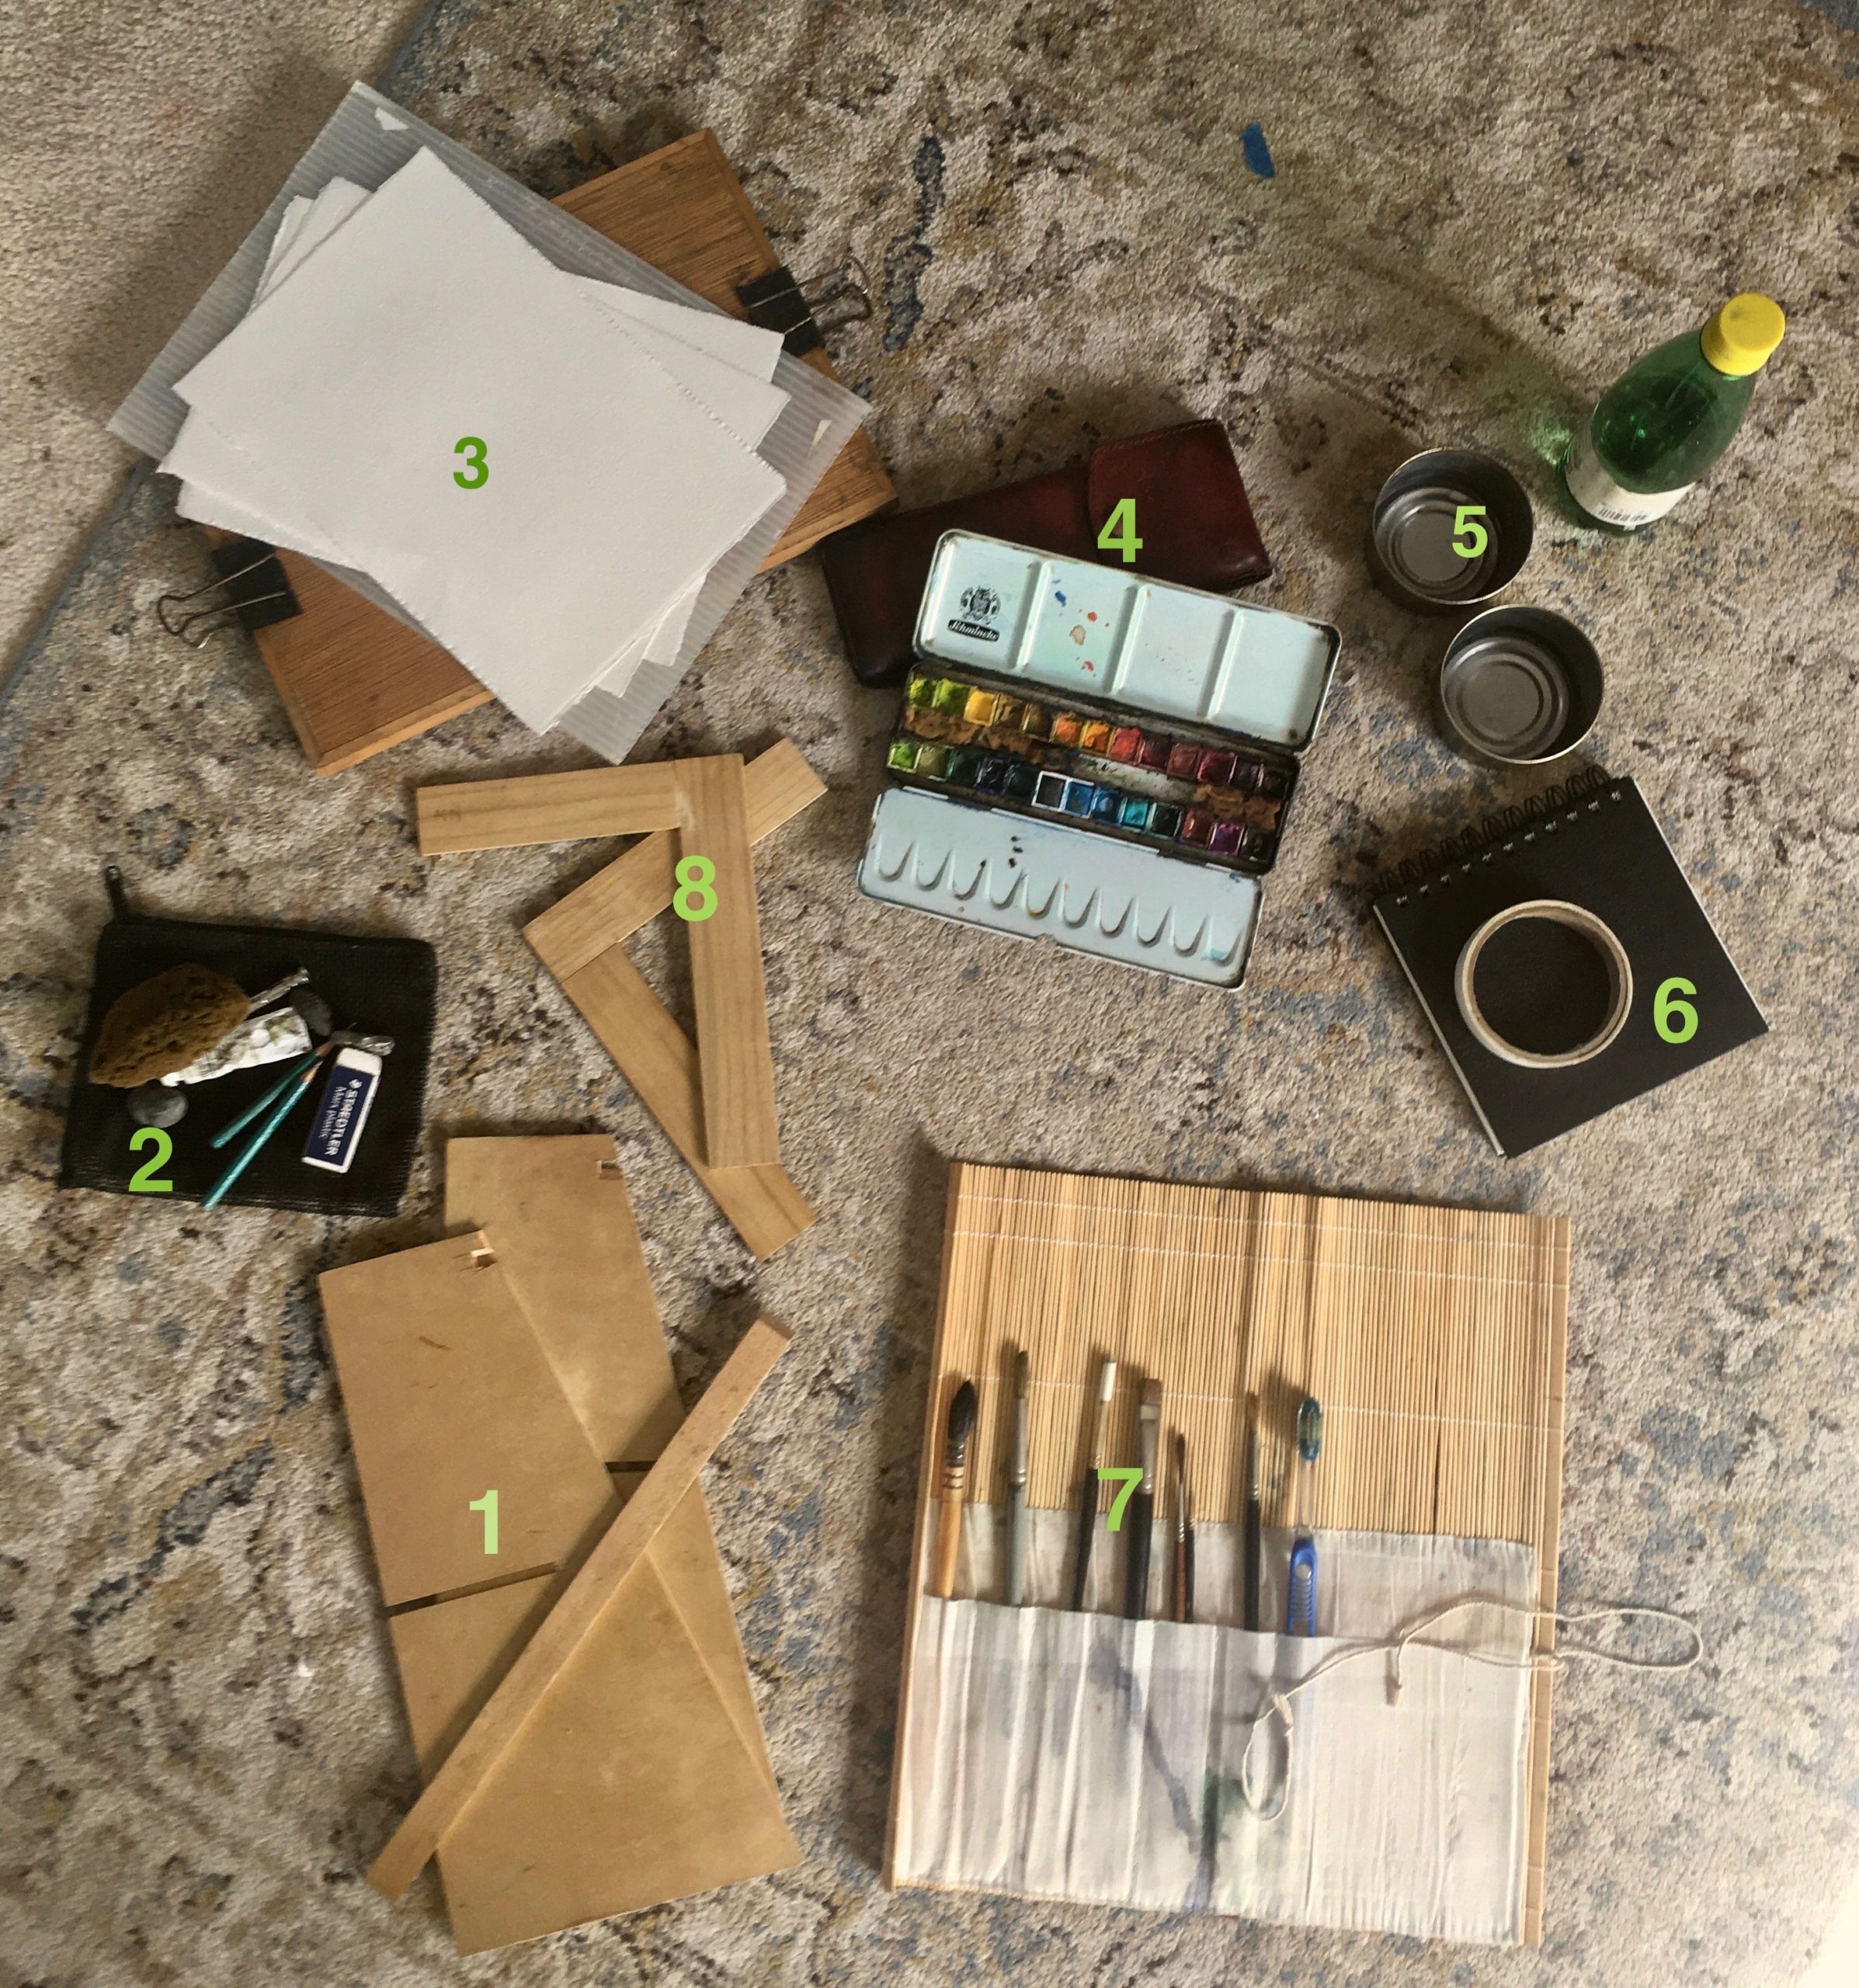
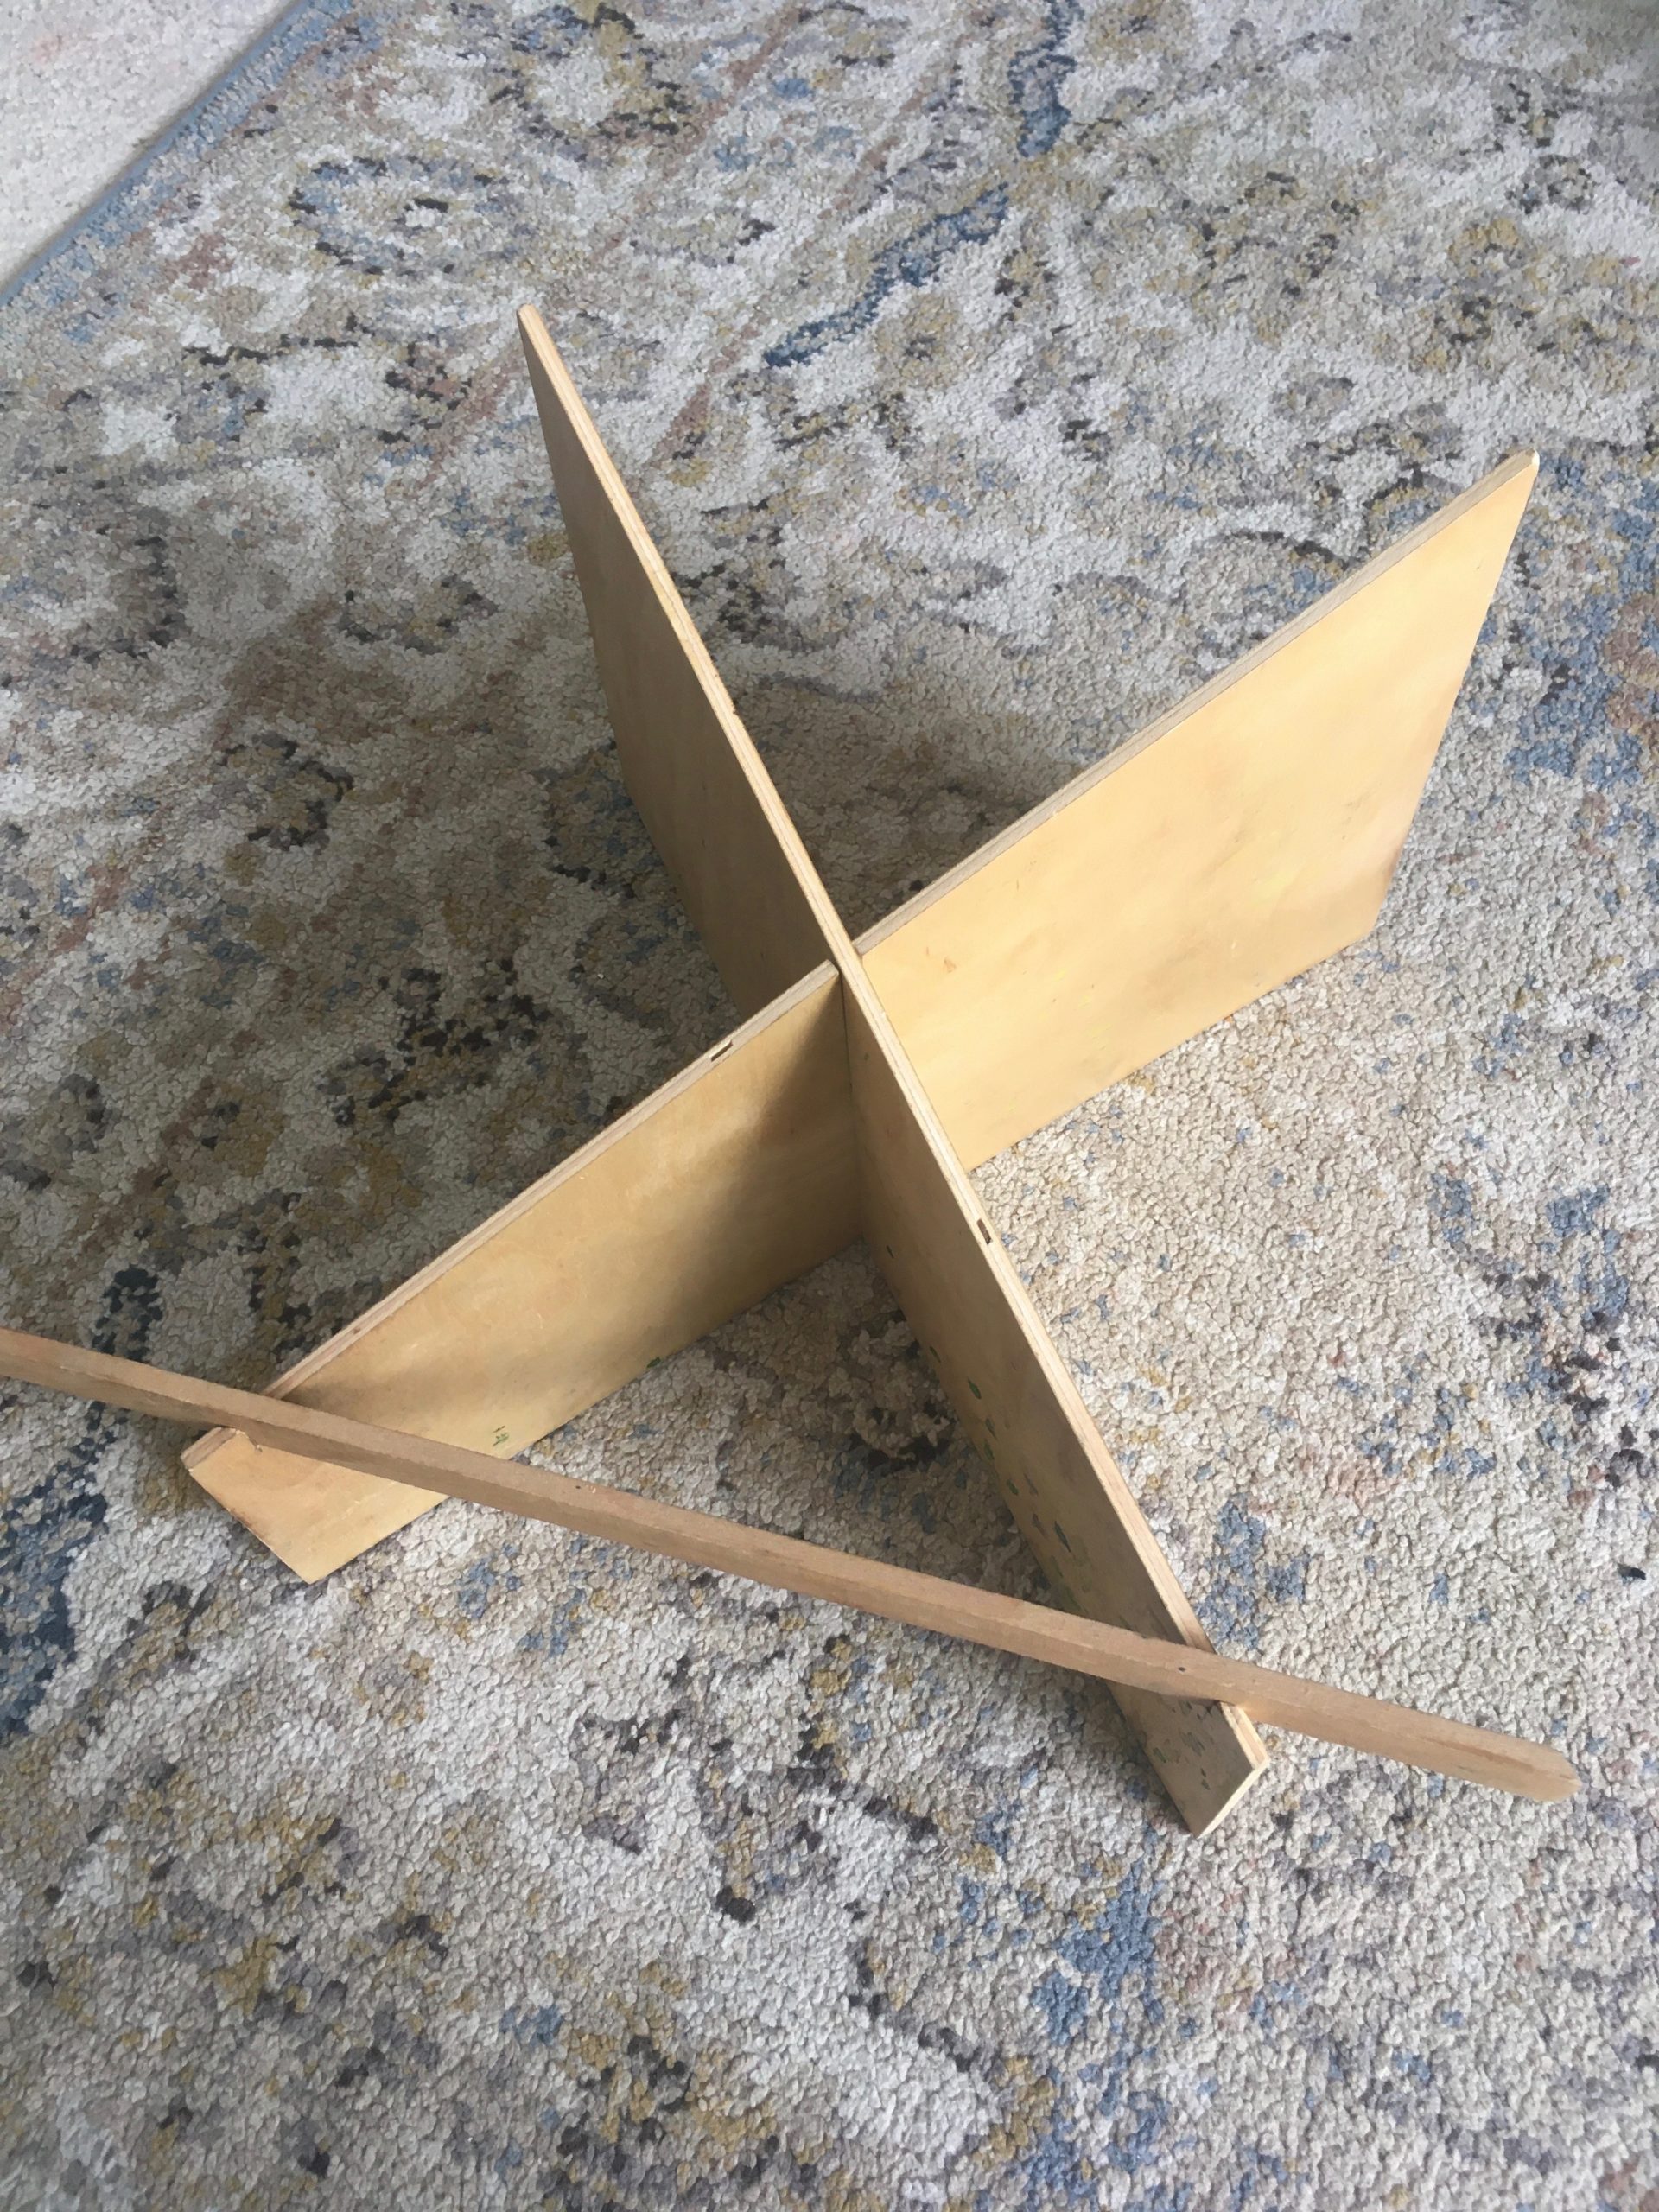
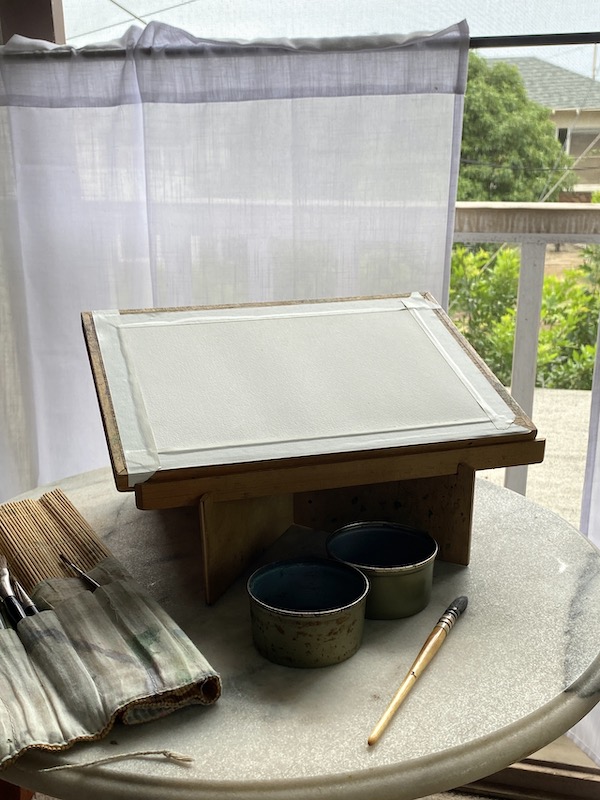
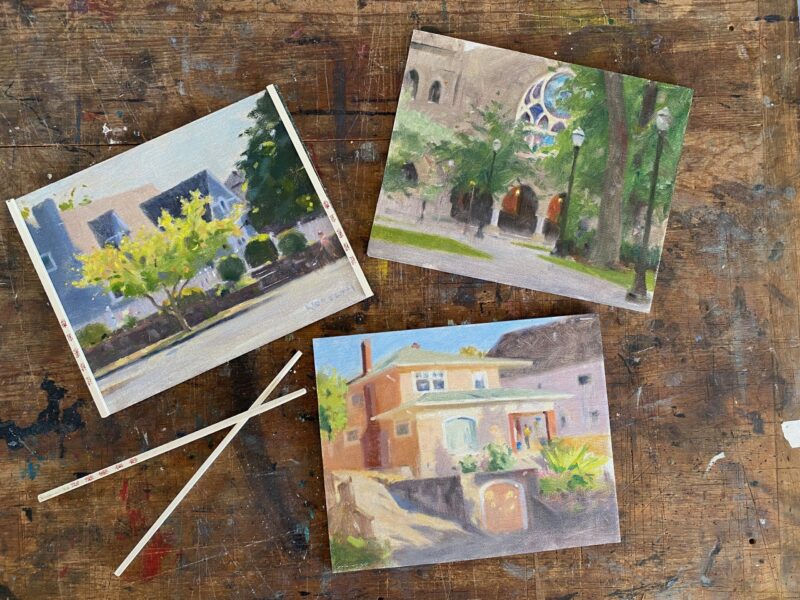
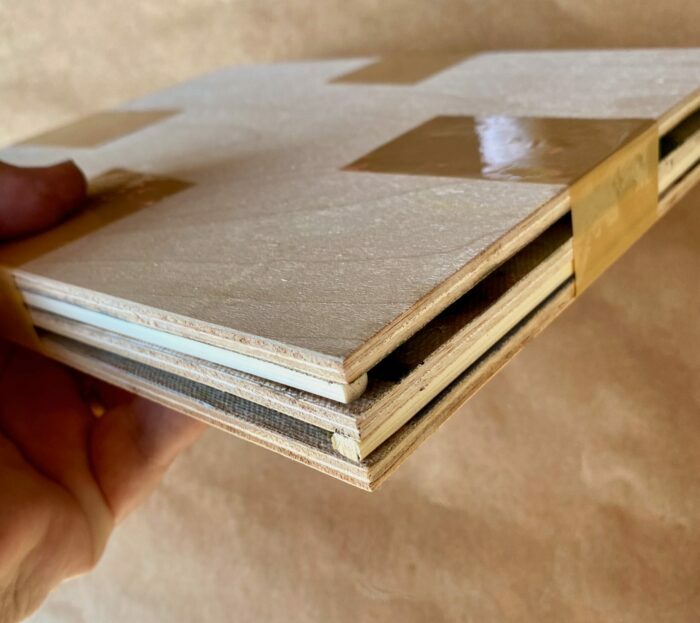
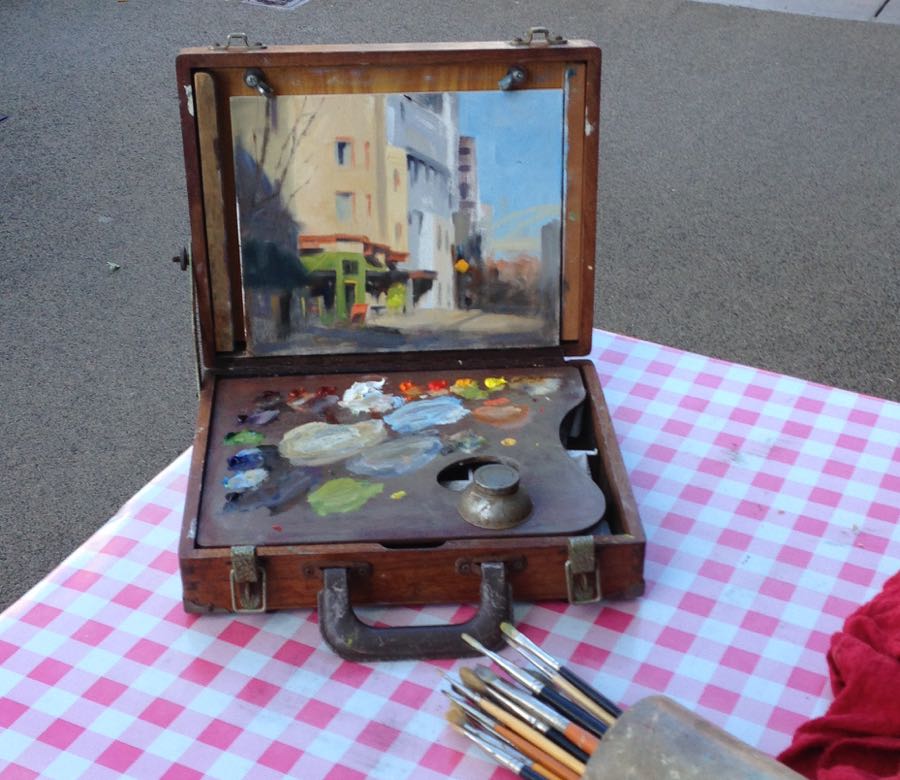
I keep “prepared” wooden painting panels in my studio, and decided 9 x 12″ was the right size. I also chose to use a tripod mounted pochade box. This would keep things compact… important because my own shadow was needed to block the sunlight behind me from falling on the painting, which would distort the light/shadow effect. Gusts of strong wind made using an umbrella to shield the painting from the setting sun too risky.
The Start
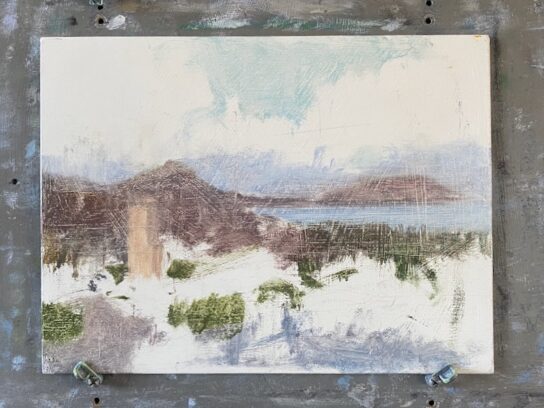
Next Steps
Weather permitting, I continued to return each evening for more work on the painting. Progress was gradual, but steady, always keeping the original intentions I described in mind.
In time I found that I was able to anticipate what the light and color were likely to do, which was a big help. This is just a sidebar here, but becoming familiar with the “personality” of a given location is a really wonderful secondary aspect of the “plein-air “painting process. One’s painting locations can also, in time, become places of deep reflection and attachment.
As the work progressed further, I also committed to trying to maintain some ideals…
- To attempt to paint the “ensemble effect” …the overall appearance of the entire scene as it might appear in one glance.
- Seeing everything as “simply a piece of paint” of a particular shape, value, and color.
- To pursue “suggestion” over “explanation”.
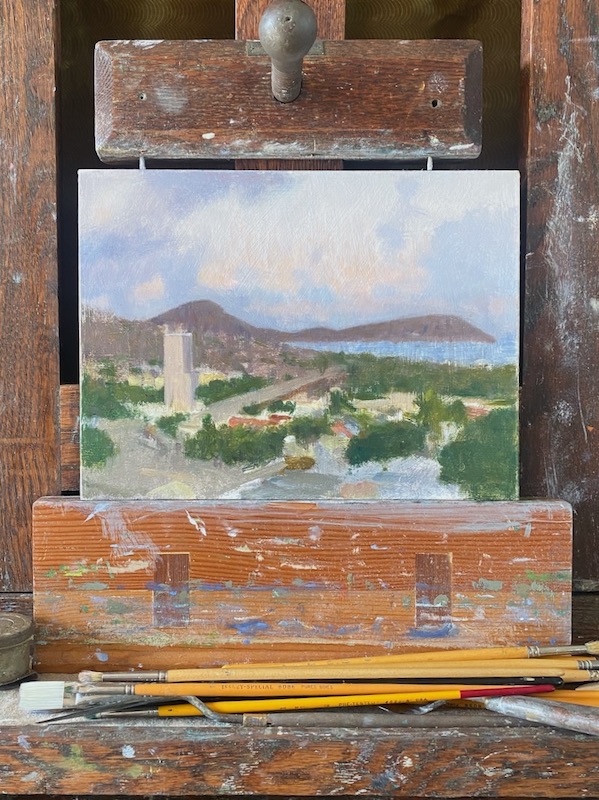
Completion Of The Work

Further sessions were simply about adjusting and refining, always with an eye towards the look of the entire painting, not fussing over specific and irrelevant details.
There was a nice general interest from the public. Most were unfamiliar with the kind of work I was doing. It was pleasant to offer some explanations to the curious. That was a nice sidebar to the whole project.
Because the painting is in traditional oils, the actual drying time is a minimum of six months. At that date, the owner of the painting will return it briefly for a final varnish. This will the crowning moment. . .the painting will then be restored to its original richness of color and permanently protected.


